
The technician pulls the wheels off and finds clean rotors and fresh pads. So why the comeback?
More often than not, the answer lies in a simple decision: whether those brake discs should have been resurfaced or replaced.
It’s not just about saving a customer money. It’s about knowing where the safe line sits — the difference between a successful repair and a problem that returns to your hoist. Getting that call right protects the workshop’s time, reputation, and liability.
The Cost of the Wrong Call
The short-term thinking of “just machine it” can turn into hours lost rechecking work and trying to explain to a customer why their new brakes feel worse than before.
Each time a comeback happens, the workshop loses efficiency. The mechanic loses confidence. And the customer loses trust.
That’s why every workshop should have a clear, repeatable process for determining whether discs are fit to machine or should be replaced.

Understanding Disc Wear and Why It Matters
Brake discs wear in predictable ways — and knowing what those patterns mean is key to diagnosis.
Common Wear Patterns
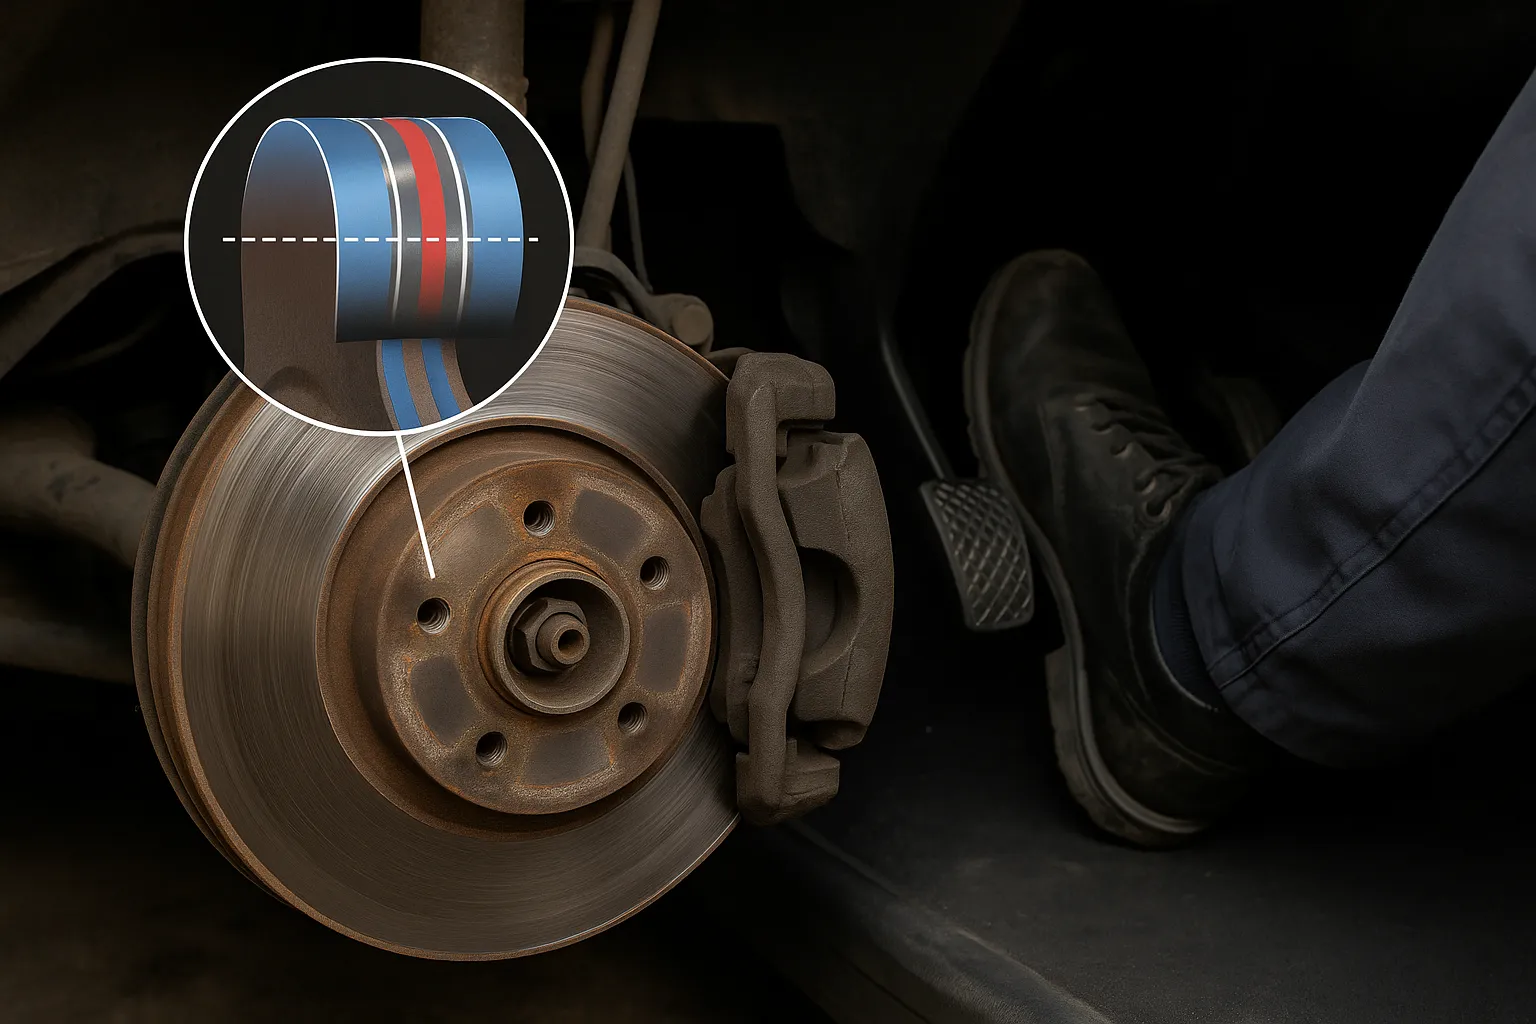
Each of these wear patterns can create DTV (Disc Thickness Variation) — the most common cause of pedal pulsation.
What Is DTV?
DTV occurs when the disc’s thickness isn’t consistent as it rotates. Even variations as small as 0.015mm can be felt at the pedal.
As the pads hit thicker and thinner areas, braking force fluctuates, causing vibration through the steering wheel or pedal.
Once DTV develops, machining may remove the uneven surface — but only if there’s enough material left above the minimum thickness.
Measurement and Diagnosis
Step 1:
Measure Rotor Thickness
Use a micrometer, not vernier callipers, and measure in at least eight positions around the rotor’s circumference.
Compare the lowest reading to the manufacturer’s stamped minimum thickness (MIN TH). It’s usually etched near the rotor edge or inside the hat section.
If the disc is within 0.3mm of minimum thickness before machining, replacement is the correct choice.
Step 2:
Check Runout
A dial indicator mounted to the hub will show any lateral movement. Before testing, clean the hub face thoroughly — rust, dirt, or paint build-up can mimic runout and ruin readings.
For most passenger cars, the acceptable maximum runout is 0.05mm. Anything beyond that risks DTV developing again within a few thousand kilometres.
Step 3:
Assess Heat Damage
Bluing, micro-cracks, or raised heat spots often mean the steel has hardened unevenly. Even if you machine the surface flat, the hardness difference remains. That rotor will likely shudder again.
Machining Options
When machining is viable, choosing the right method matters.
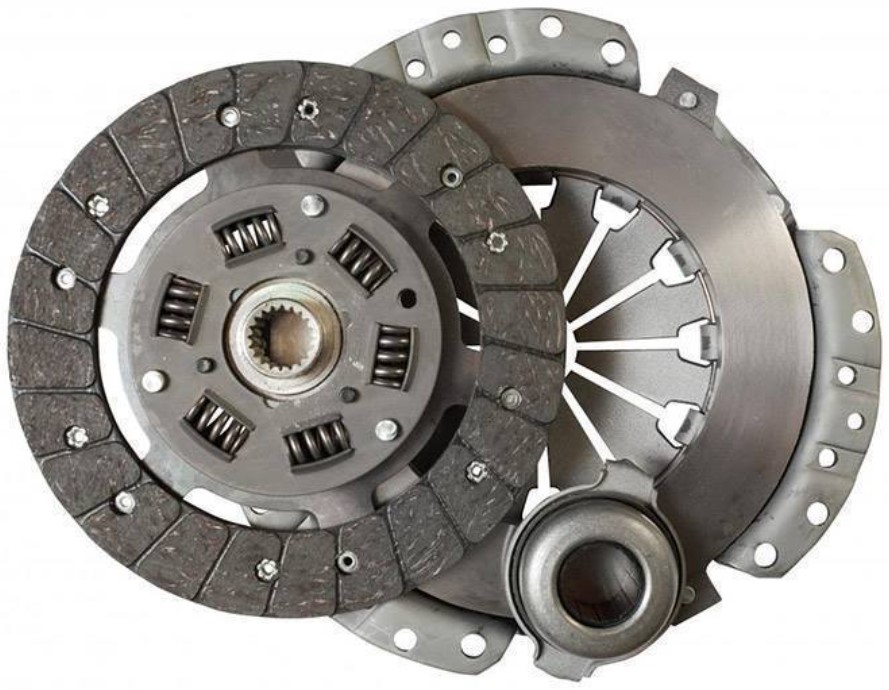
On-car machining cuts the disc in its mounted position, compensating for minor hub runout. It’s efficient for quick turnaround jobs and moderate wear.
However, it’s not ideal for discs with severe scoring, heat damage, or taper wear.
Off-car lathes allow for greater precision and even surface finish. They also make it easier to inspect both sides of the rotor and hub mating surface.
This method is best for rotors with measurable but correctable DTV or light scoring.
Never machine past the minimum thickness.
Every cut reduces heat capacity, which increases the risk of fade and cracking under load.
If there’s any doubt, err on the side of replacement. The cost of a new rotor is small compared to the risk of failure.
When Replacement Is the Only Safe Call
Rotor is at or below minimum thickness.
Heat checking or surface cracks are visible.
Severe rust or pitting compromises the braking surface.
Excessive scoring that would require deep machining cuts.
Multiple previous resurfaces have reduced the disc’s mass.
Workshop Workflow: A Simple Process That Prevents Comebacks
Brake & Clutch Warehouse recommends a three-step decision process to keep jobs consistent across technicians.
Communication With Customers about Brake Disc Machining
Most customers don’t understand DTV or micrometer readings.
Explain it simply: “The disc can be machined safely” or “It’s below the safe limit and must be replaced for proper braking.”
Providing old parts as visual proof also helps manage cost conversations.
Brake & Clutch Warehouse: Technical Partners in Brake Performance
Brake & Clutch Warehouse supports workshops with the parts, knowledge, and hardware to get brake jobs right the first time.
- OE-quality rotors, pads, and drums
- Hardware kits, clips, and shims
- Caliper accessories and wear sensors
- Brake fluid, lubricants, and tools
- Brake Machining Service Page
- Brake Repairs and Servicing
- Brake Pads and Shoes
- Brake Accessories and Hardware Kits
- Preventing Brake Comebacks: Workshop Tips
With decades of experience, the BCW team helps workshops choose the right parts and machining strategy for every job — saving time, reducing comebacks, and keeping customers safe on the road.